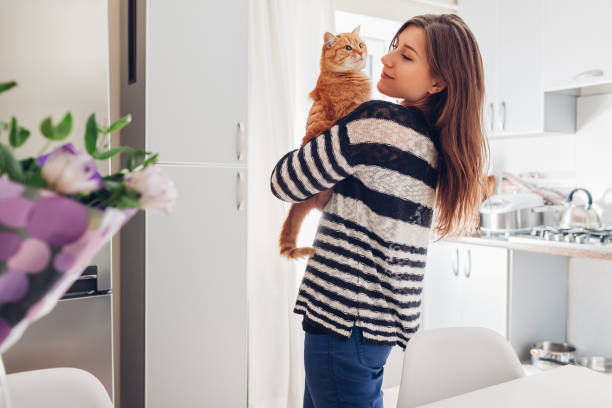
In addition to the food bowl, toilet, and basket, the scratching post is the most important utensil in the cat household. The velvet paw needs the scratching post, on the one hand, to care for its claws, on the other hand as a toy, sports equipment for climbing and jumping, and of course as a “throne”. From the raised lookout, the cat keeps an eye on its territory. So there is no question that the tiger needs a scratching post. If you find the standard models too boring and the designer versions too expensive, you can build the cat tree yourself. Everything you need is available at the hardware store.
Build your own scratching post?
Specialist shops offer a wide range of cat trees that are suitable for cats. You can certainly make your velvet paw happy with a self-designed scratching post.
There are several reasons to build a scratching post yourself:
- Individuality: You know your cat’s preferences best. Do you have a climber who would like to climb along the trunk to the ceiling? Or rather a relaxed slacker who prefers large and easily accessible lying areas?
- Fitness of the cat: Is your velvet paw an older semester or not particularly enthusiastic about climbing for other reasons? For such animals, slopes or steps for climbing are more comfortable than a vertical trunk.
- Adaptation to the living space: Your apartment is not suitable for a classic scratching post due to a special room layout? Perhaps you would also like to design the scratching post entirely in your furnishing style?
- Extension: The standard cat tree is just too small for the cat team in the apartment and you need a larger model to satisfy all the purrs?
- Creativity: Do you enjoy handicrafts and would you like to try your hand at creating eye-catching cat furniture?
What do I have to pay attention to if I want to build a cat tree myself?
Before you reach for the hammer and saw, you should precisely measure the planned location of the scratching post and make a detailed sketch. In this way, you save yourself from incorrect constructions or unnecessary waste of material.
You should note the following points:
- Base and statics: The higher the scratching post is, the more stable the construction must be. If the cat jumps onto the trunk with a run-up, the structure can start to wobble. Pay attention to a sufficiently large and heavy base plate and, if necessary, anchoring to the ceiling.
- Surface: Sand down all wooden components of the scratching post so that no splinters protrude. If you also use plastic, make sure it is unbreakable.
You sink screws and nails as flat as possible in the wood or position them inaccessible. - Gluing instead of staples: Avoid using staples as much as possible, which could come loose and injure the cat. It is better to attach fabric covers with Velcro, which you can attach to the wood with non-toxic glue or small nails.
- Harmless material: With all materials used, make sure that there is no health risk for your animals, such as glue or paint.
What materials do I need to make the scratching post myself?
As a craftsman with the appropriate prior knowledge of working with wood, you should plan a whole weekend to build a cat tree yourself. Above all, the sawing of the wooden parts and the assembly are precision work that requires some time.
Material list scratching post:
- Trunk: For a natural scratching post, use a strong branch or the trunk of a young tree. It is often worth asking a tree nursery for thinned wood. If this is not an option, you can get lumber with a diameter of at least twelve centimeters from the hardware store.
- Base plate: A large wooden plate for the foot of the scratching post is also available at hardware stores. For a pitch on laminate, tiles, or parquet, attach an anti-slip mat underneath for more stability.
- Boards and boxes, from which the lying areas and caves are then created.
Plush or fabric is used to line and cover the boards and caves. Make sure that you can easily remove the textiles and wash them if necessary. The easiest way to do this is with Velcro. - Sisal: For the scratching areas you need a sisal rope that is wrapped tightly around the trunk. You can’t get by here without careful stapling.
- Tools: drill, cordless screwdriver, hammer, hand hatchet, spirit level, and saw
Consumables: Screws, washers, nails, angles, wood glue – depending on how the scratching post should be designed in the end.
Basic instructions – build a scratching post yourself
If you are using a natural log as a starting material, do not process the wood when it is fresh. You should debark the trunk and store it in dry weather for a few weeks – this way you don’t bring in any wood insects hidden under the bark, and the wood won’t warp anymore.
Fasten the trunk or timbers to the base plate with six screws. Cut the trunk or branches flat at the height where the lying surfaces are to be mounted. Remember that at least one point in a row the trunk must be large enough for the cat to stretch all the way along. Assemble the lying boards and caves with brackets or boards on or between the trunks so that horizontal surfaces are created. The boards have to be rock solid; you can use a jigsaw to see appropriate recesses in the boards. You can also attach a cat hammock between branches or two round timbers.
Cover the lying areas with fabric and wrap the glued-in scratching area of the trunk tightly with a sisal rope. The basic scratching post is ready: the fine-tuning is now up to your creativity.